Hey there! As a top cover supplier, I often get asked, "Are there any installation instructions for the top cover?" Well, you bet there are, and I'm gonna break it all down for you right here.
First off, let's talk about why installation instructions matter. When you buy a top cover, whether it's for an RV, a car, or some other piece of equipment, you want to make sure it's installed correctly. A properly installed top cover not only looks good but also does its job effectively. For example, if you're using a Waterproof Rv Roof Cover, you want it to keep the water out and protect your RV from the elements.
General Installation Steps
The installation process can vary a bit depending on the type of top cover you've got. But there are some general steps that usually apply.
Step 1: Preparation
Before you start installing the top cover, you need to get everything ready. This means cleaning the surface where the cover will be installed. If it's an RV roof, for instance, you'll want to remove any dirt, debris, or old sealant. You can use a mild detergent and a soft brush to clean the surface. Make sure it's completely dry before you move on to the next step.
You'll also need to gather all the tools you'll need. This might include a ladder, a utility knife, a caulking gun, and some measuring tape. Having everything within reach will make the installation process go a lot smoother.
Step 2: Measuring
Once the surface is clean and dry, it's time to measure. Measure the dimensions of the area where the top cover will be installed. This is crucial because you want to make sure the cover fits properly. If it's too small, it won't provide adequate protection. If it's too big, it might not stay in place correctly.
Take your time with the measuring and double - check your measurements. It's better to be safe than sorry.
Step 3: Unrolling and Positioning
Carefully unroll the top cover. Make sure it's not twisted or wrinkled. Then, position it over the area you measured. You might need a friend or two to help you with this, especially if the cover is large.
Line up the edges of the cover with the edges of the area you're covering. You can use the measuring tape to make sure it's centered and straight.
Step 4: Securing the Cover
Now comes the part where you actually secure the cover. This can be done in a few different ways.

If it's a vinyl top cover, you might use a special adhesive or sealant. Apply the adhesive or sealant along the edges of the cover using a caulking gun. Make sure to follow the manufacturer's instructions for the adhesive. Some adhesives need to be applied in a specific temperature range, and you need to give it enough time to dry and set.
For some covers, you might use screws or clips. If you're using screws, drill pilot holes first to prevent the cover from tearing. Then, insert the screws and tighten them just enough to hold the cover in place without damaging it.
Step 5: Trimming
Once the cover is secured, you might need to trim off any excess material. Use a sharp utility knife to carefully cut along the edges. Make sure your cuts are straight and clean.
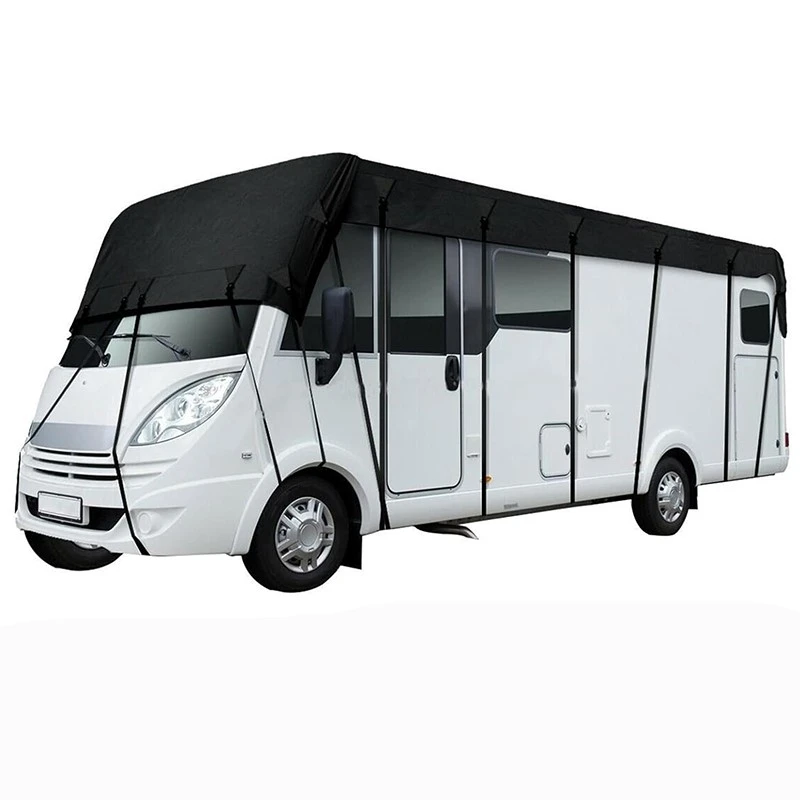
Specific Installation for Waterproof Rv Roof Cover
Now, let's focus a bit more on the Waterproof Rv Roof Cover.
The preparation for an RV roof is a bit more involved. You need to check the roof for any signs of damage, such as cracks or holes. If you find any, you'll need to repair them before installing the cover. You can use a roof repair kit to fix small cracks and holes.
When it comes to positioning the RV roof cover, you need to be extra careful because the roof has a curve. You might need to adjust the cover as you unroll it to make sure it follows the contour of the roof.
Securing the RV roof cover is also crucial for its waterproofing ability. Use a high - quality sealant around the edges and any seams. This will prevent water from seeping in.
Troubleshooting
Even if you follow the installation instructions carefully, you might run into some problems.
One common issue is air bubbles under the cover. If you notice air bubbles, you can use a pin to puncture them and then smooth out the cover.
Another problem could be that the cover doesn't seem to be sticking properly. This could be due to a dirty surface or incorrect adhesive application. If this happens, you might need to clean the surface again and re - apply the adhesive.
Conclusion
So, to answer the question, "Are there any installation instructions for the top cover?" Yes, there are, and they're important to follow. Whether you're installing a simple car top cover or a Waterproof Rv Roof Cover, taking the time to install it correctly will ensure that you get the most out of your cover.
If you're in the market for a top cover, I'd love to help you out. We've got a wide range of top covers to suit different needs and budgets. Whether you're an RV enthusiast, a car owner, or someone with other equipment that needs protecting, we've got you covered. If you're interested in purchasing a top cover or have any questions about the installation process, feel free to reach out. We're here to make sure you have a great experience with your top cover.
References
- RV Roof Maintenance Guide
- Vinyl Top Cover Manufacturer's Manuals